Connect Power BI Desktop to Insights API
Now that we have the AnywhereNow connector loaded in Power BI Desktop, we can start connecting to Insights. Here we have to options, you can either use our template or start with an new Power BI file. The advantage of using the Power BI template is that it already becomes generated with useful visuals and calculations you can use immediately.
Option 1: Connect to Insights with the AnywhereNow Power BI template
Preparations
-
Download the AnywhereNow Infinity Power BI package and un-zip it.
AnywhereNow Infinity Power BI Package - Kinetic update
AnywhereNow Infinity Power BI Package - Lunar update
Tip
You may have already downloaded this in the Configure Power BI gateway step.
Steps
To connect to Insights using the AnywhereNow Power BI template, follow these steps:
-
Open the Anywhere365-Infinity-PowerBI-Template-vxxxxxx-xx.pbit file.
-
The Power BI Desktop client will now open.
-
An window will appear where you can configure the template, after configuring click Load:
-
Select the AnywhereNow environment your organization is using
-
(optional) Start Date, enter a date in the Start Date field to filter the dialogue table with the following format: DD/MM/YYYY or DD/MM/YYYY HH:MM:SS. When left blank, the whole Dialogue table will be loaded.
-
(optional) RangeStart, enter a start date in the following format DD/MM/YY only if you want to enable incremental refresh feature, see: Configure incremental refresh and real-time data for Power BI semantic models - Power BI
-
(optional) RangeEnd, enter an end date in the following format DD/MM/YY only if you want to enable incremental refresh feature, see: Configure incremental refresh and real-time data for Power BI semantic models - Power BI
Important
Please ensure that the RangeEnd value is greater than the RangeStart value to proceed.
Note:
The RangeStart and RangeEnd values determine the subset of data from the ‘Dialogue’ table that is loaded into the Power BI client. Once published to Power BI, the data will be subject to the configured Incremental Refresh policies
-
-
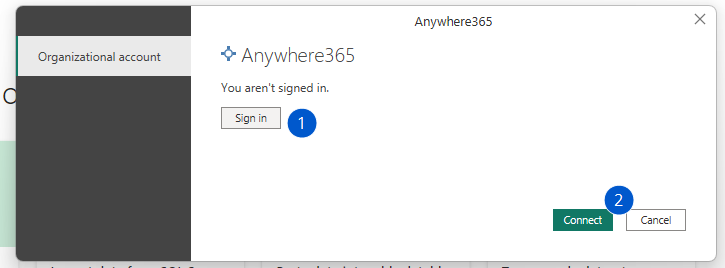
An Authentication window will appear, Sign in with an account that is setup for Dialogue Cloud Infinity (1), and click "Connect" (2)
Note:
The account that is trying to authenticate should have been assigned Report Viewer user privileges. This can be assigned via the Admin Portal, see Users privileges
 Unexpected outcome: You receive the "Access to the resource is forbidden" error.
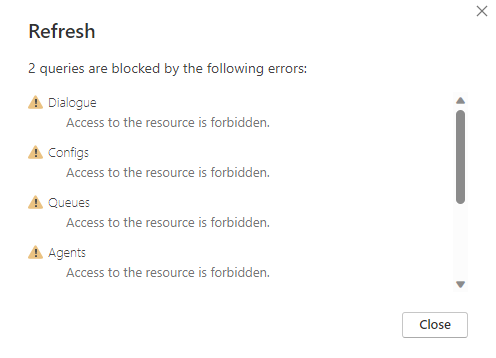
The account that is trying to authenticate doesn't have the Report Viewer user privileges. This can be assigned via the Admin Portal, see Users privileges
Unexpected outcome: You receive the "The import Anywhere365.Connect matches no exports" error.
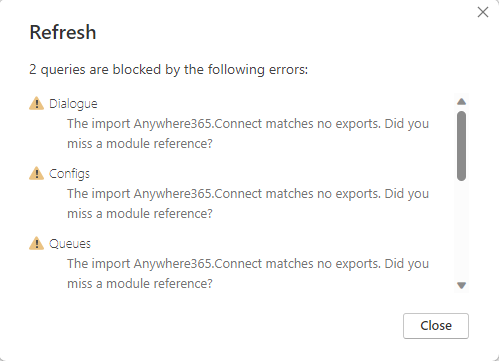
The connected has not been loaded correctly in Microsoft Power BI Desktop. Please validate if the steps in Preparations are done correctly.
-
When the data is loaded, you will see the visuals being populated with your data.
-
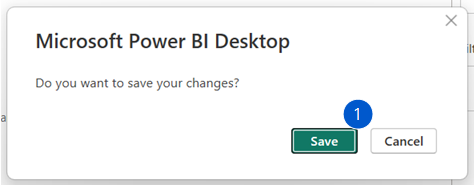
Make the changes you want to add in the report and give the report a proper name and save the Power BI file in .pbix format (1).
Option 2: Connect to Insights with a new Power BI file
To connect to Insights using a new Power BI template, follow these steps:
-
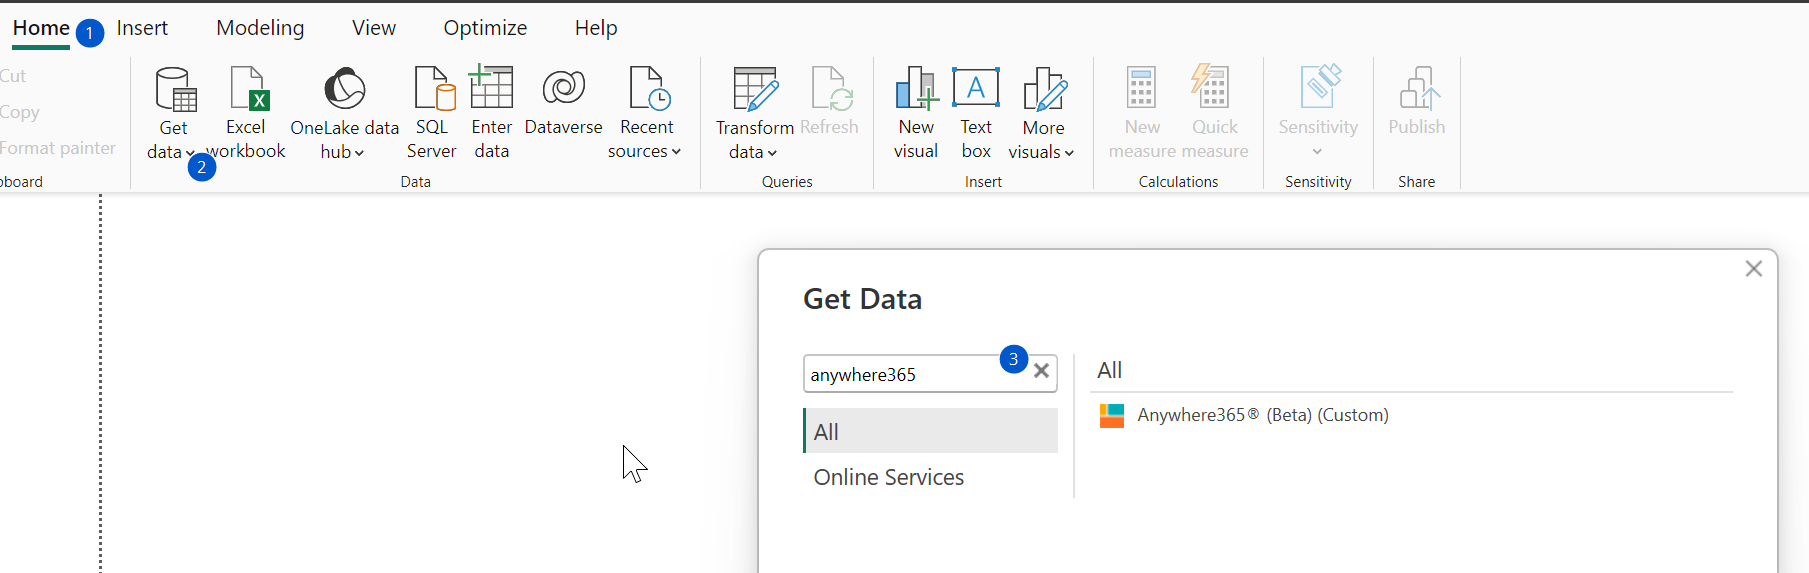
From the "Home" tab (1) select "Get Data" (2), and search for Anywhere365 (3).
-
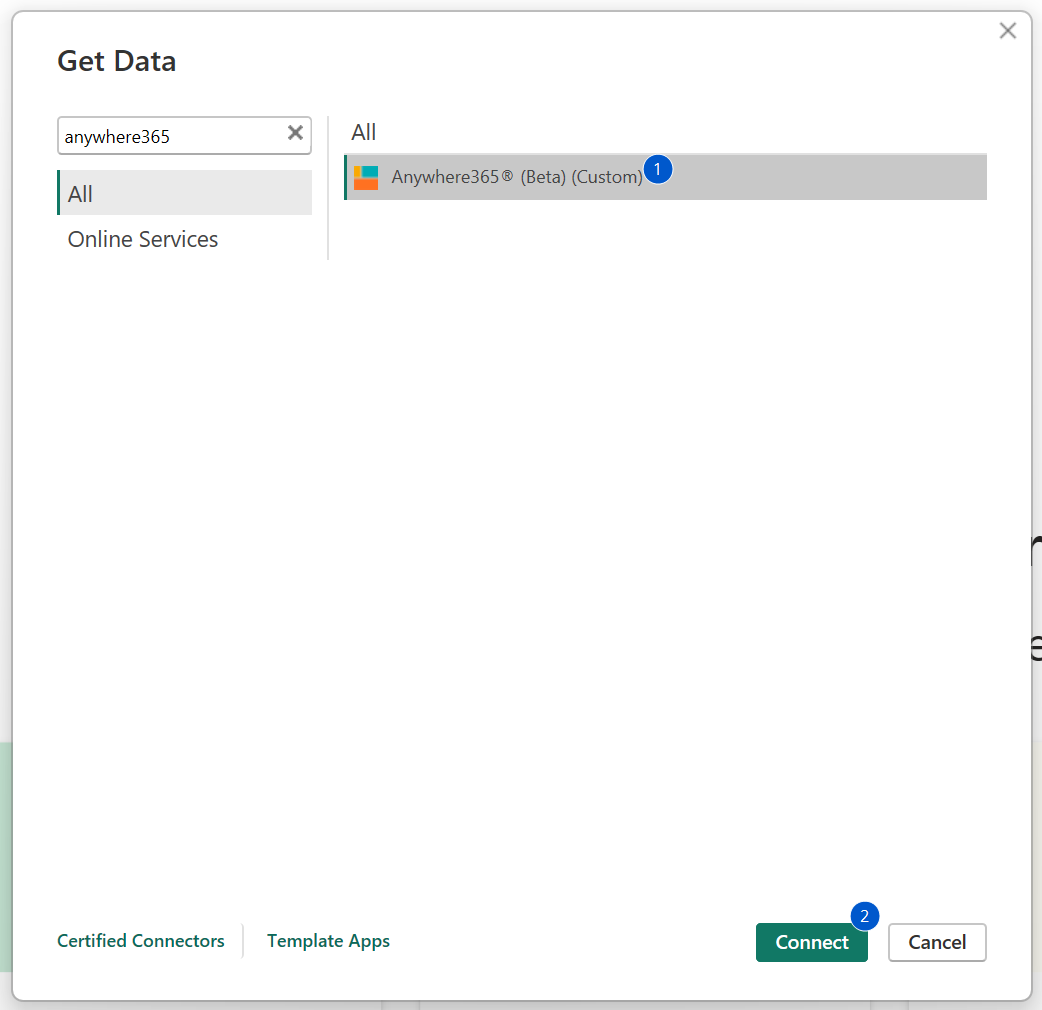
Select the Anywhere365 connector (1) and click "Connect (2).
-
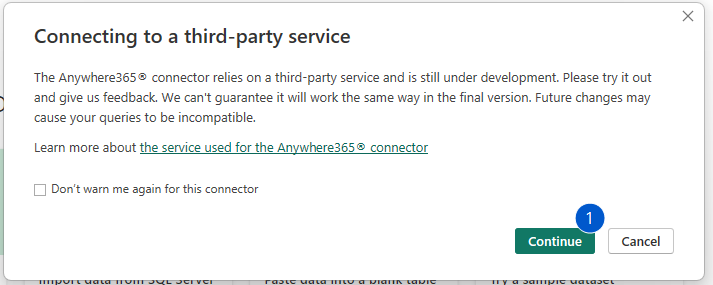
If you have chosen to disable Data Extension validation instead of the adding the registry file, then you will now see a window that you are connecting to a third-party service, click continue (1).
-
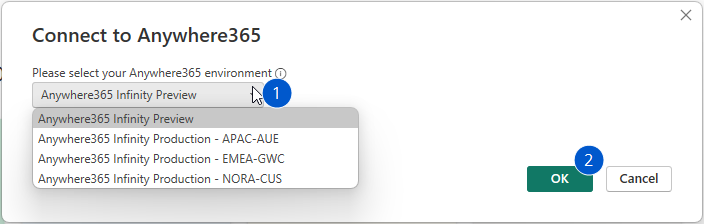
An endpoint selection window will appear, select the environment your organization is using (1) and click OK (2):
-
An Authentication window will appear, Sign in with an account that is setup for Dialogue Cloud Infinity (1), and click Connect (2)
Note:
The account that is trying to authenticate should have been assigned Report Viewer user privileges. This can be assigned via the Admin Portal.
-
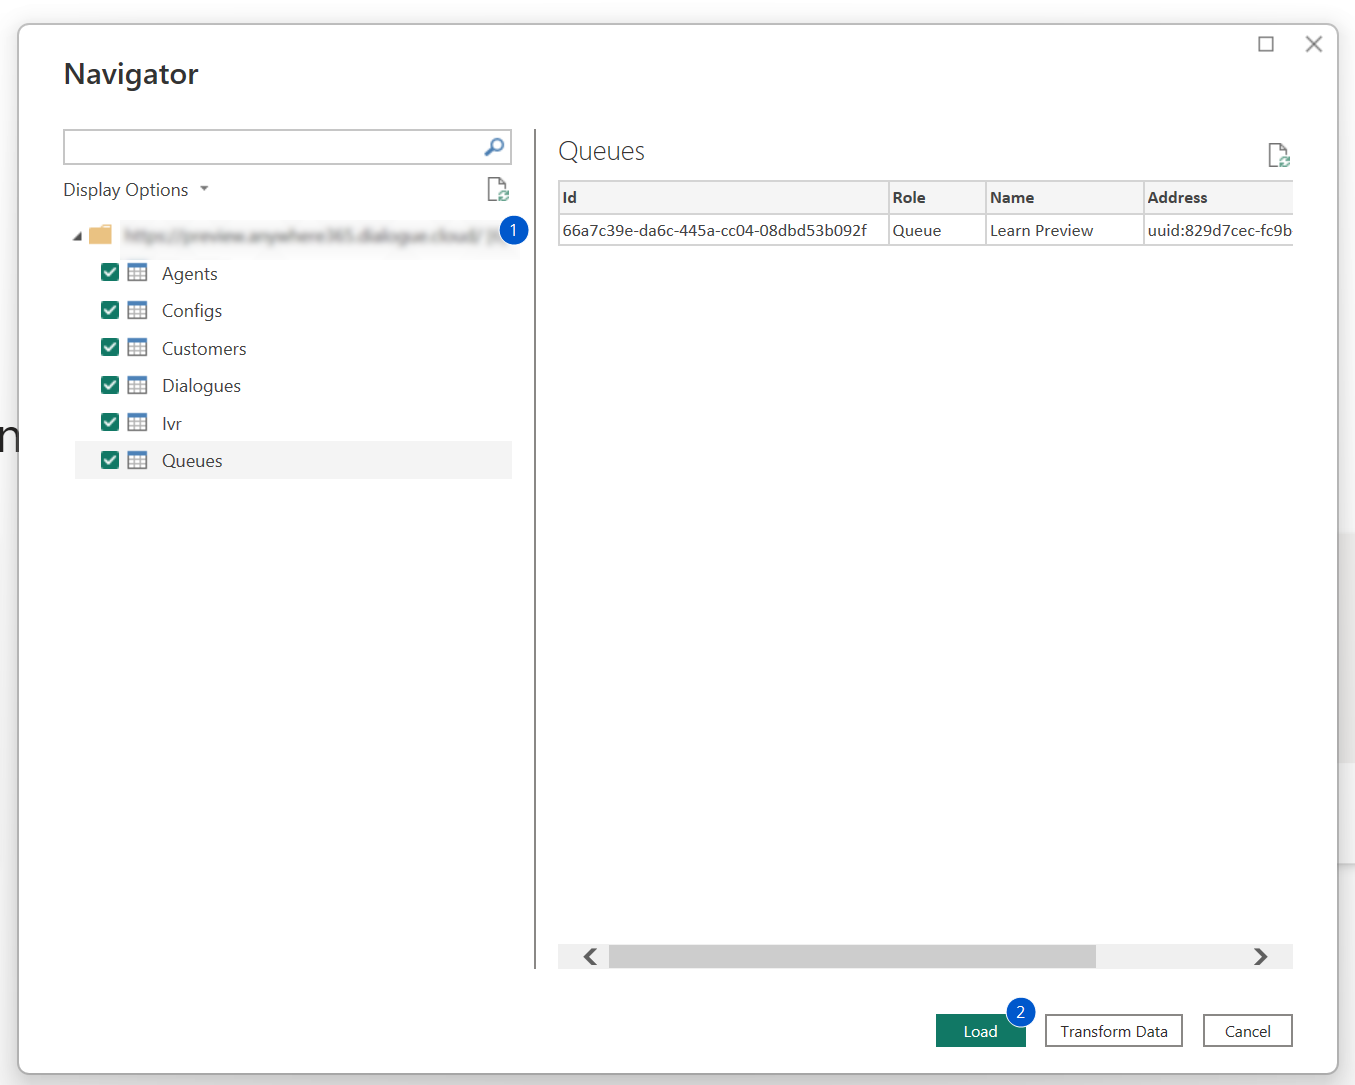
In the next window, you get a preview of all the data. Select all the entities/tables you wish to load in the Power BI data model (1) and click Load (2)
 Unexpected outcome: You receive the "Access to the resource is forbidden" error.
The account that is trying to authenticate doesn't have the Report Viewer user privileges. This can be assigned via the Admin Portal, see Users privileges
-
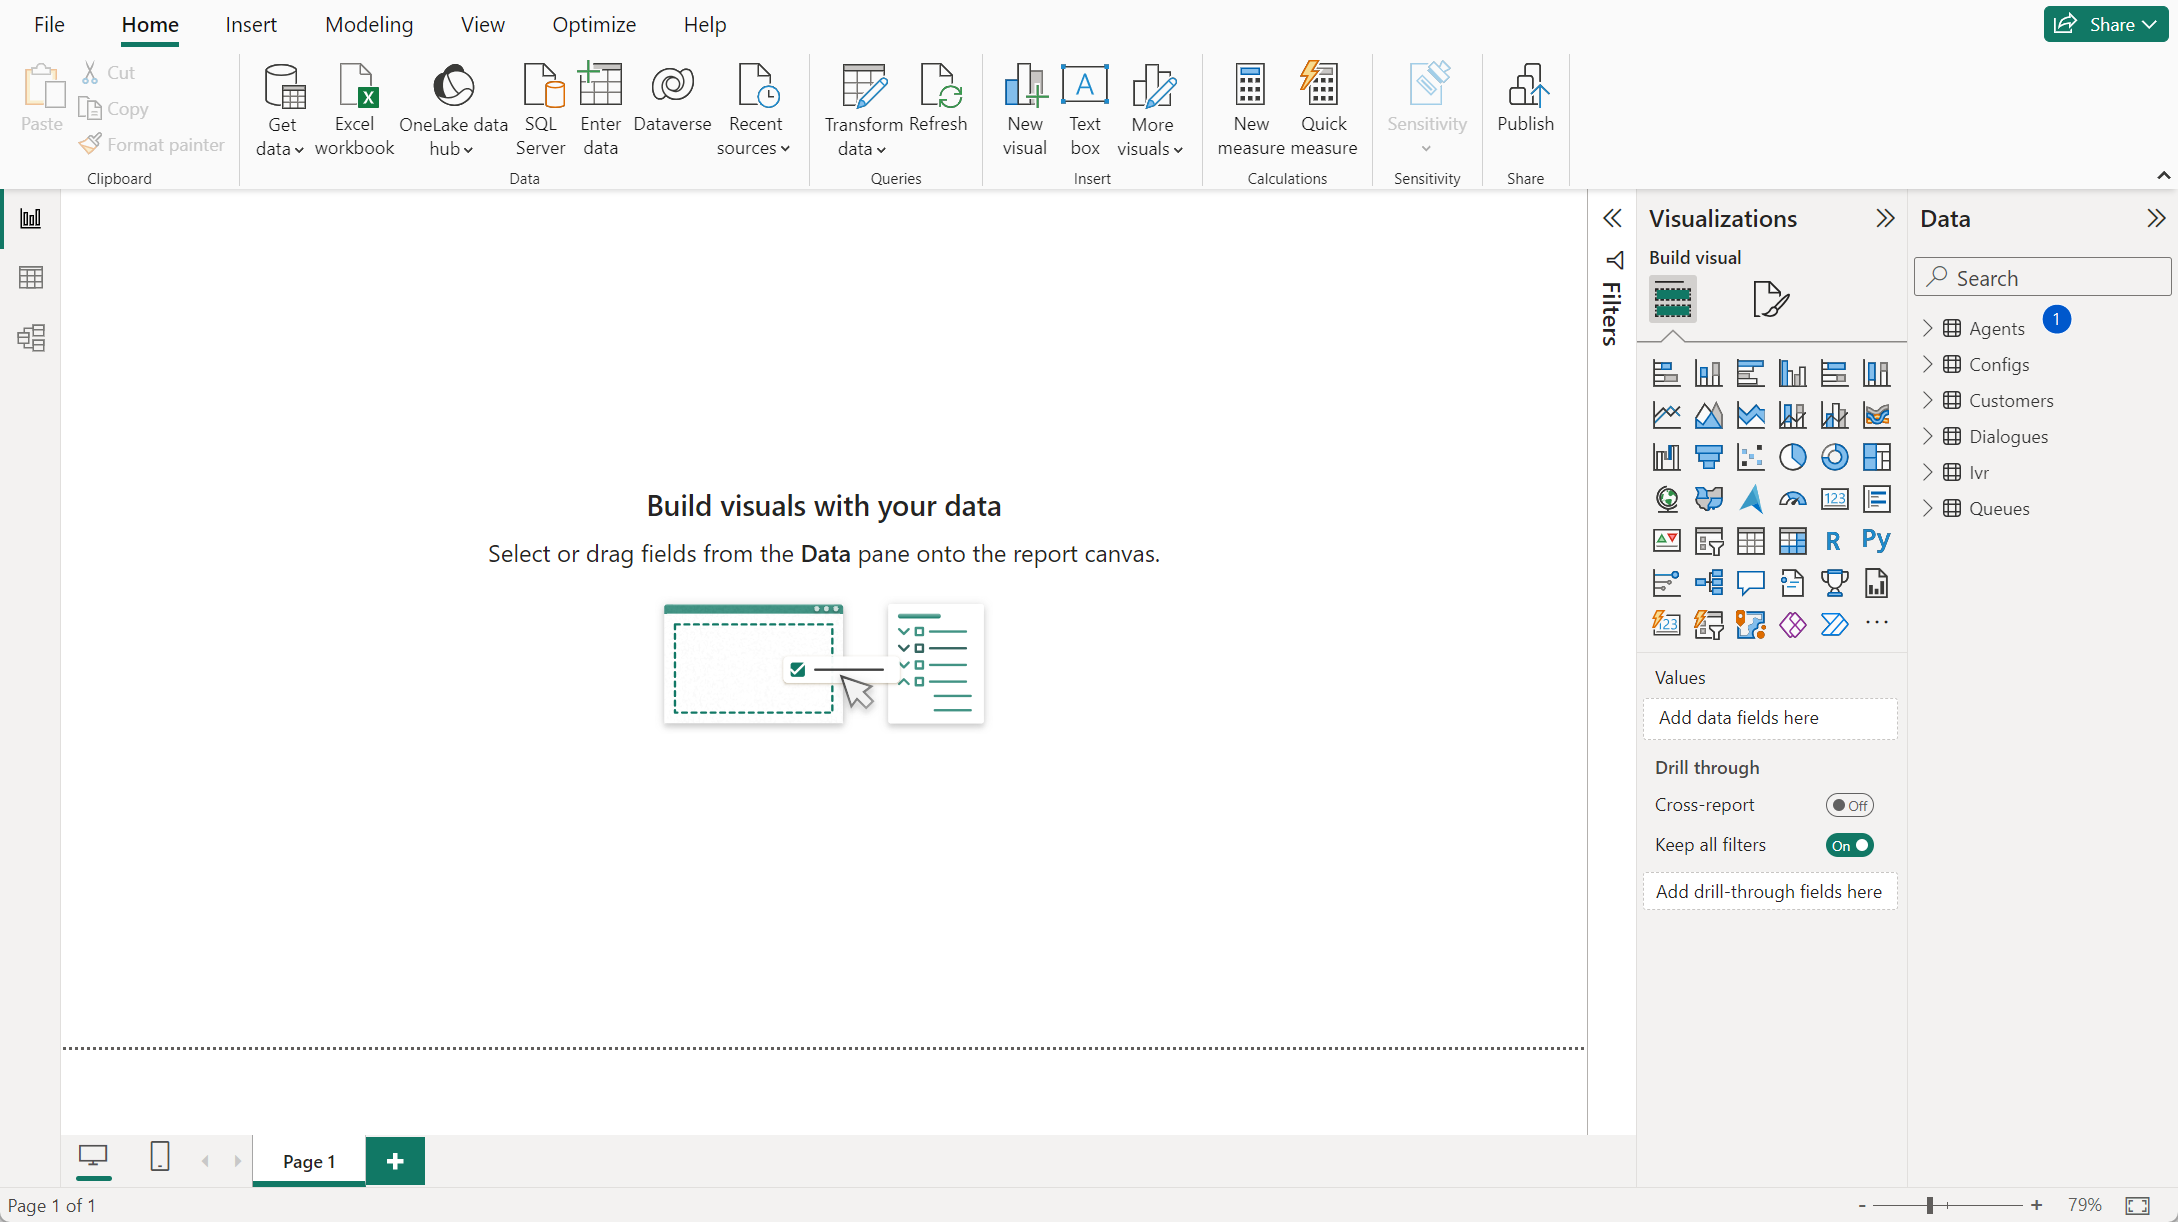
When the data is loaded, you will see all entities/tables you have previously selected on the right side of the screen in the Data navigation window (1).
-
Make the changes you want to add in the report and give the report a proper name and save the Power BI file in .pbix format (1).